Have you seen them? The stunningly detailed 3D figures popping up all over your social media feeds, perfectly posed on virtual computer desks, complete with custom packaging. It’s the latest viral trend captivating creators and tech enthusiasts alike, transforming simple portraits into hyper-realistic, collectible-style figures that look like they’ve been professionally designed and photographed. What was once the exclusive domain of 3D artists with years of experience and complex software is now accessible to anyone with a browser.
Behind this creative explosion is a powerful, yet surprisingly accessible, AI model. This isn’t just another image filter; it’s a sophisticated tool that you can command. This definitive guide will pull back the curtain on the technology powering this trend. We will provide the exact step-by-step instructions, the “magic” prompts, and the pro tips you need to start creating your own incredible 3D figures in minutes. No prior 3D design experience is necessary, all you need is a photo and a little creativity.
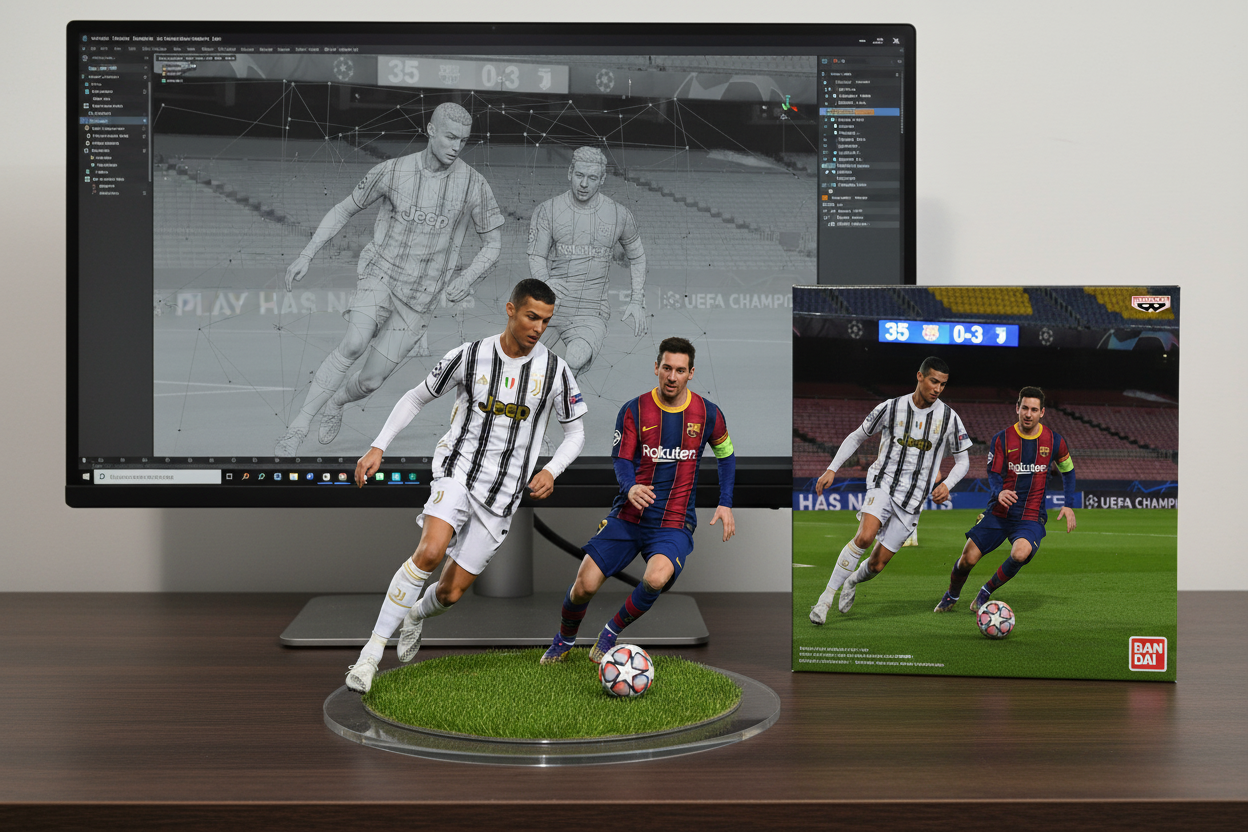
How to Create 3D Figures
What is Google’s “Nano Banana” AI?
The secret behind these jaw-dropping creations is an AI model developed by Google DeepMind called “Nano Banana“. This specialized model is part of the powerful Gemini Flash Image 2.5 family, designed specifically to generate images with a distinct, photorealistic, and commercial aesthetic. It excels at turning a 2D character or portrait into what appears to be a high-quality, 1/7 scale commercial figure, complete with realistic lighting, textures, and environmental context.
Why is this Trend Exploding?
The rapid and widespread popularity of this trend can be attributed to a perfect storm of accessibility, realism, and personalization.
First and foremost, tools like Google AI Studio have democratized a highly technical process. Creating a 3D model of this caliber traditionally required expert-level proficiency in complex software like ZBrush, Blender, and Keyshot, along with a deep understanding of modeling, texturing, and lighting. The Nano Banana model bypasses this steep learning curve entirely, allowing anyone to achieve professional-grade results with a simple text prompt.
Second, the quality of the output is astonishingly high. The model is specifically tuned to generate figures in a “commercialized” style, mimicking the look of professionally produced and photographed collectibles. The prompts often include photographic terms like “cinematic lighting,” “shallow depth of field,” and “high-detail textures,” guiding the AI to produce an image that is not just a render, but a piece of virtual photography.
Finally, the trend is deeply personal. The ability to use your own portrait, a photo of a friend, or an illustration of a favorite character and see it transformed into a tangible-looking figure is incredibly compelling. This high degree of personalization makes the creations highly shareable, fueling the trend’s viral spread across social media platforms.
This phenomenon also signals a fascinating evolution in how we interact with AI. Users are moving beyond simple, descriptive prompts (e.g., “a photo of a person on a desk”) to more technical, command-like instructions. The prompts for this trend are highly specific, invoking a particular model (Use the nano-banana model) and defining precise parameters as if briefing a professional artist (1/7 scale, circular transparent acrylic base). This shift indicates that as AI models become more specialized, “prompt engineering” is becoming less about creative writing and more about learning the specific “command language” of a model to unlock its unique, powerful capabilities. This guide is your key to learning the syntax for the Nano Banana model.
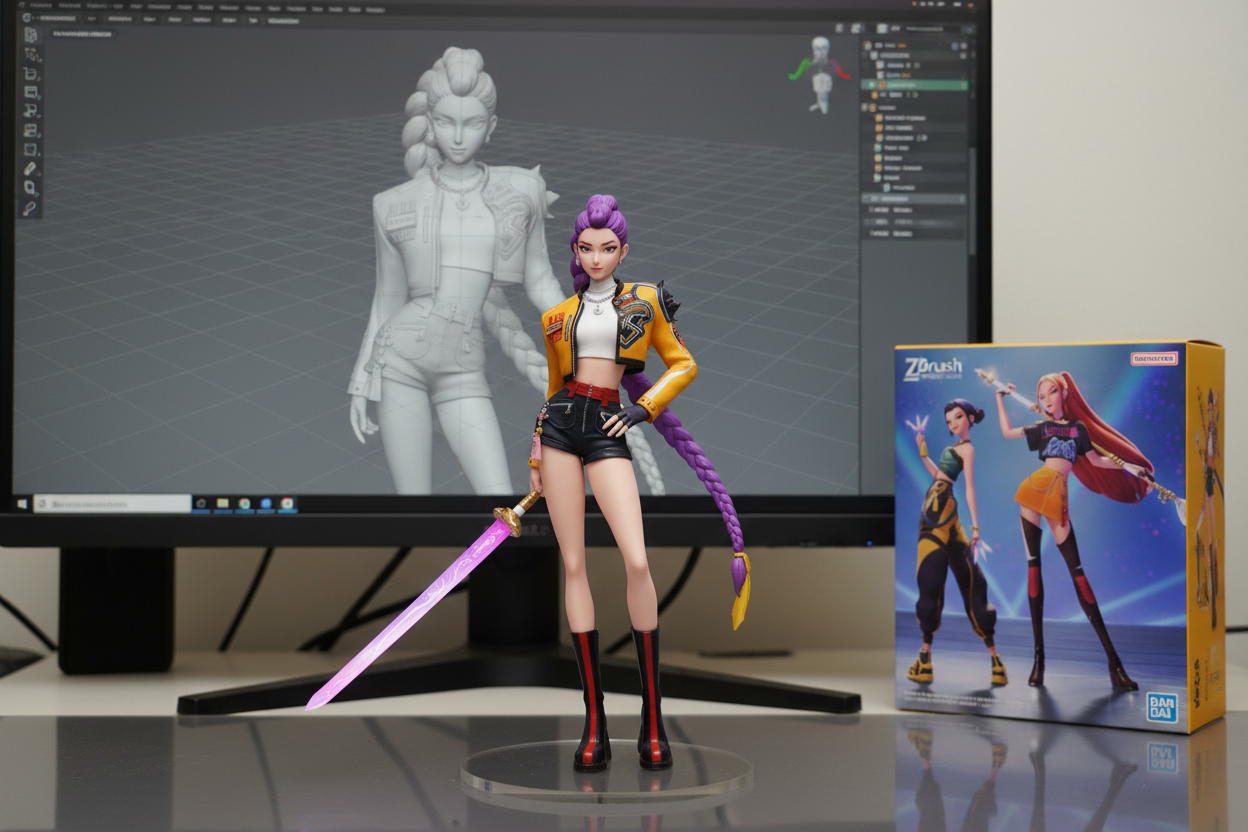
3D Figures Trend Exploding
Creating Your 3D Figure with Google AI Studio
Google AI Studio is the most direct and powerful way to access the Nano Banana model. The following steps provide a clear, foolproof method to generate your first 3D figure.
Step 1: Accessing the AI Studio
First, open your web browser and navigate directly to the Google AI Studio website. Once the page loads, you will be presented with several options. For this task, look for and select the “Upload Image” mode. This is the optimal starting point for transforming your photo into a 3D figure.
You can use the following link for quick access: Click here
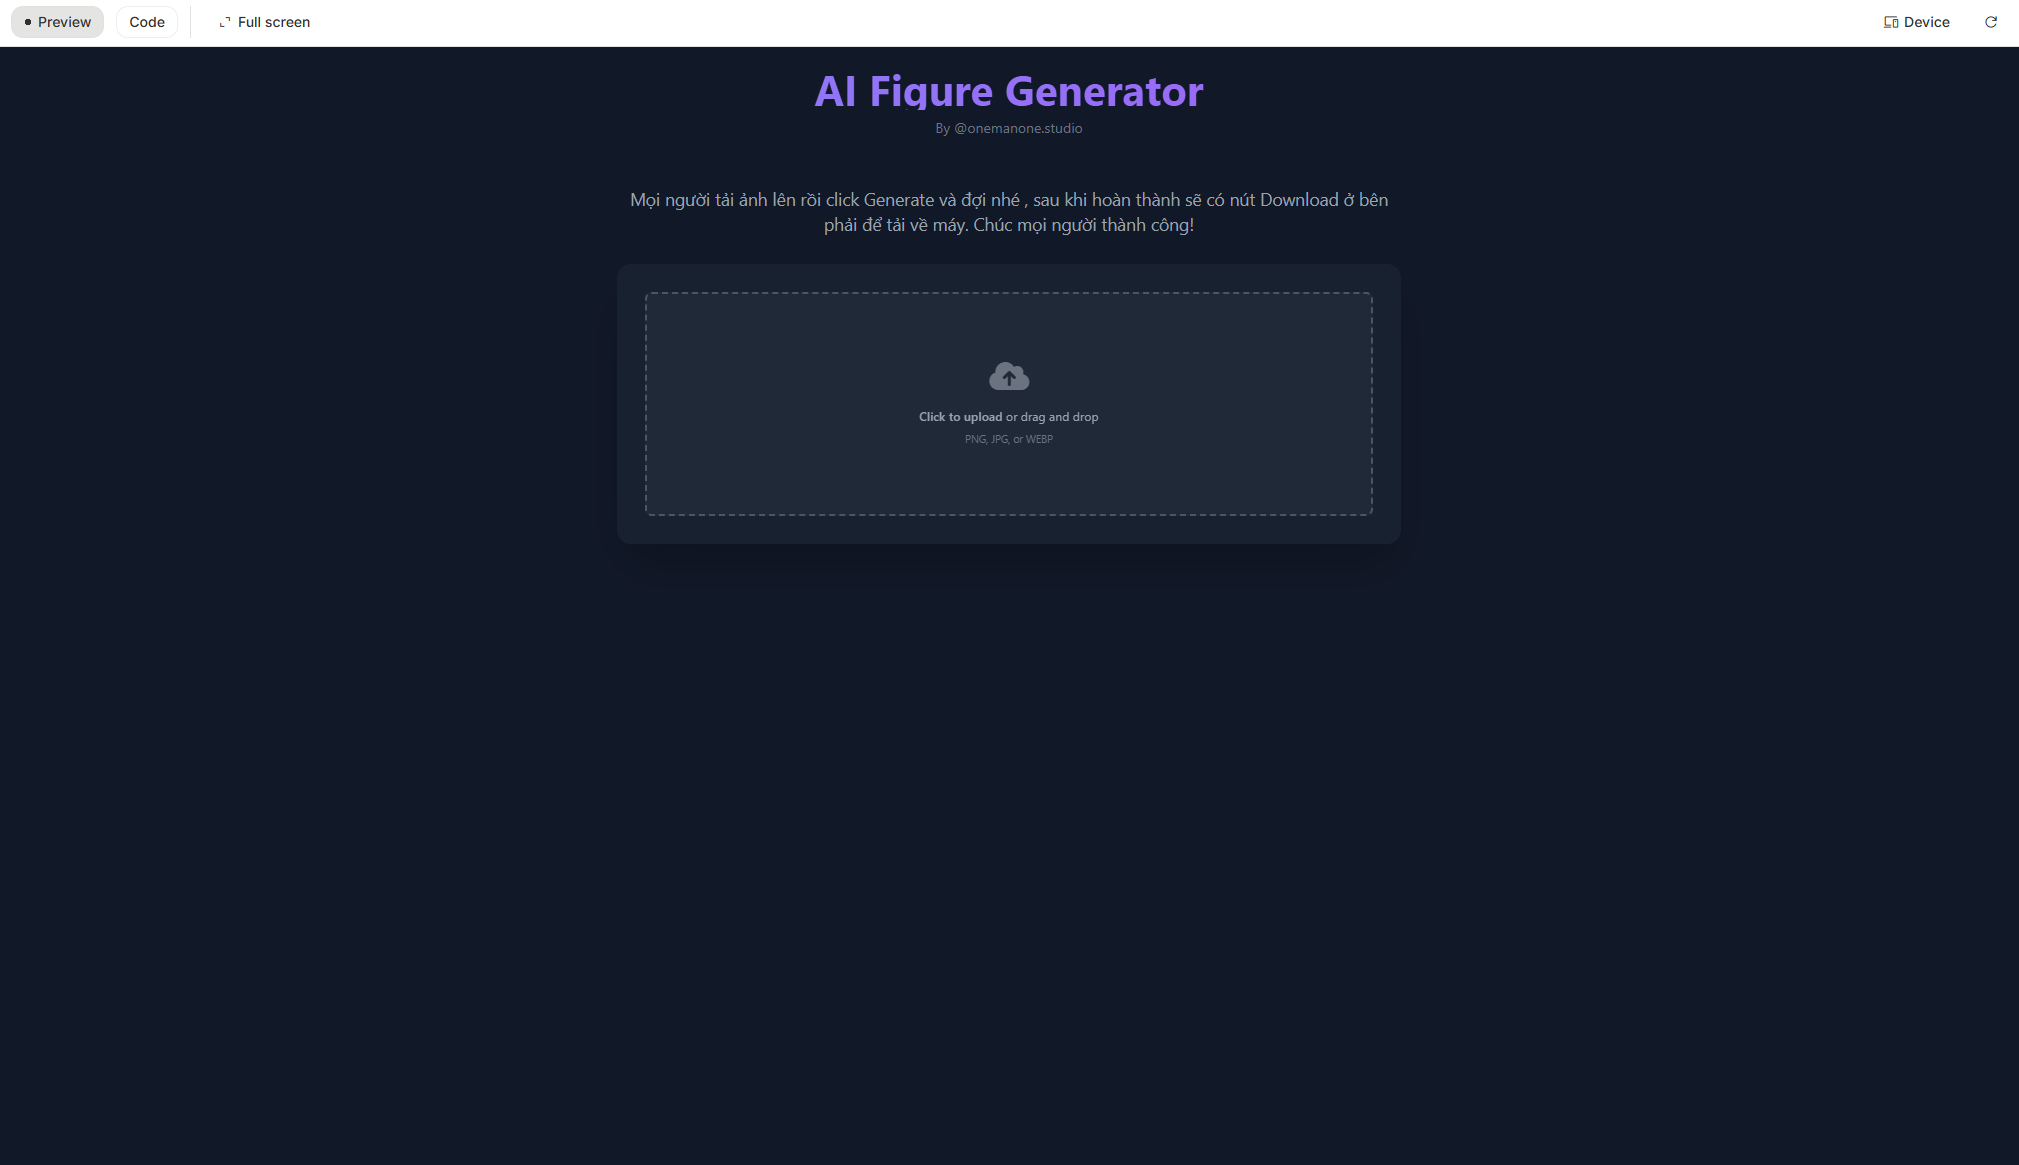
Visit Google AI Studio
Step 2: Uploading Your Portrait
In the main interface, you will see an area prompting you to upload a file. Click on the “click to upload or drag and drop” button to select an image from your computer.
For the best possible results, the quality of your source image is paramount. Choose a high-resolution, clear, and well-lit portrait where the subject’s face is not obscured by shadows, hair, or other objects. The AI’s ability to generate a detailed and accurate figure is directly proportional to the quality of the input image. A clear photo provides the AI with more data to work with, resulting in a sharper and more lifelike model.
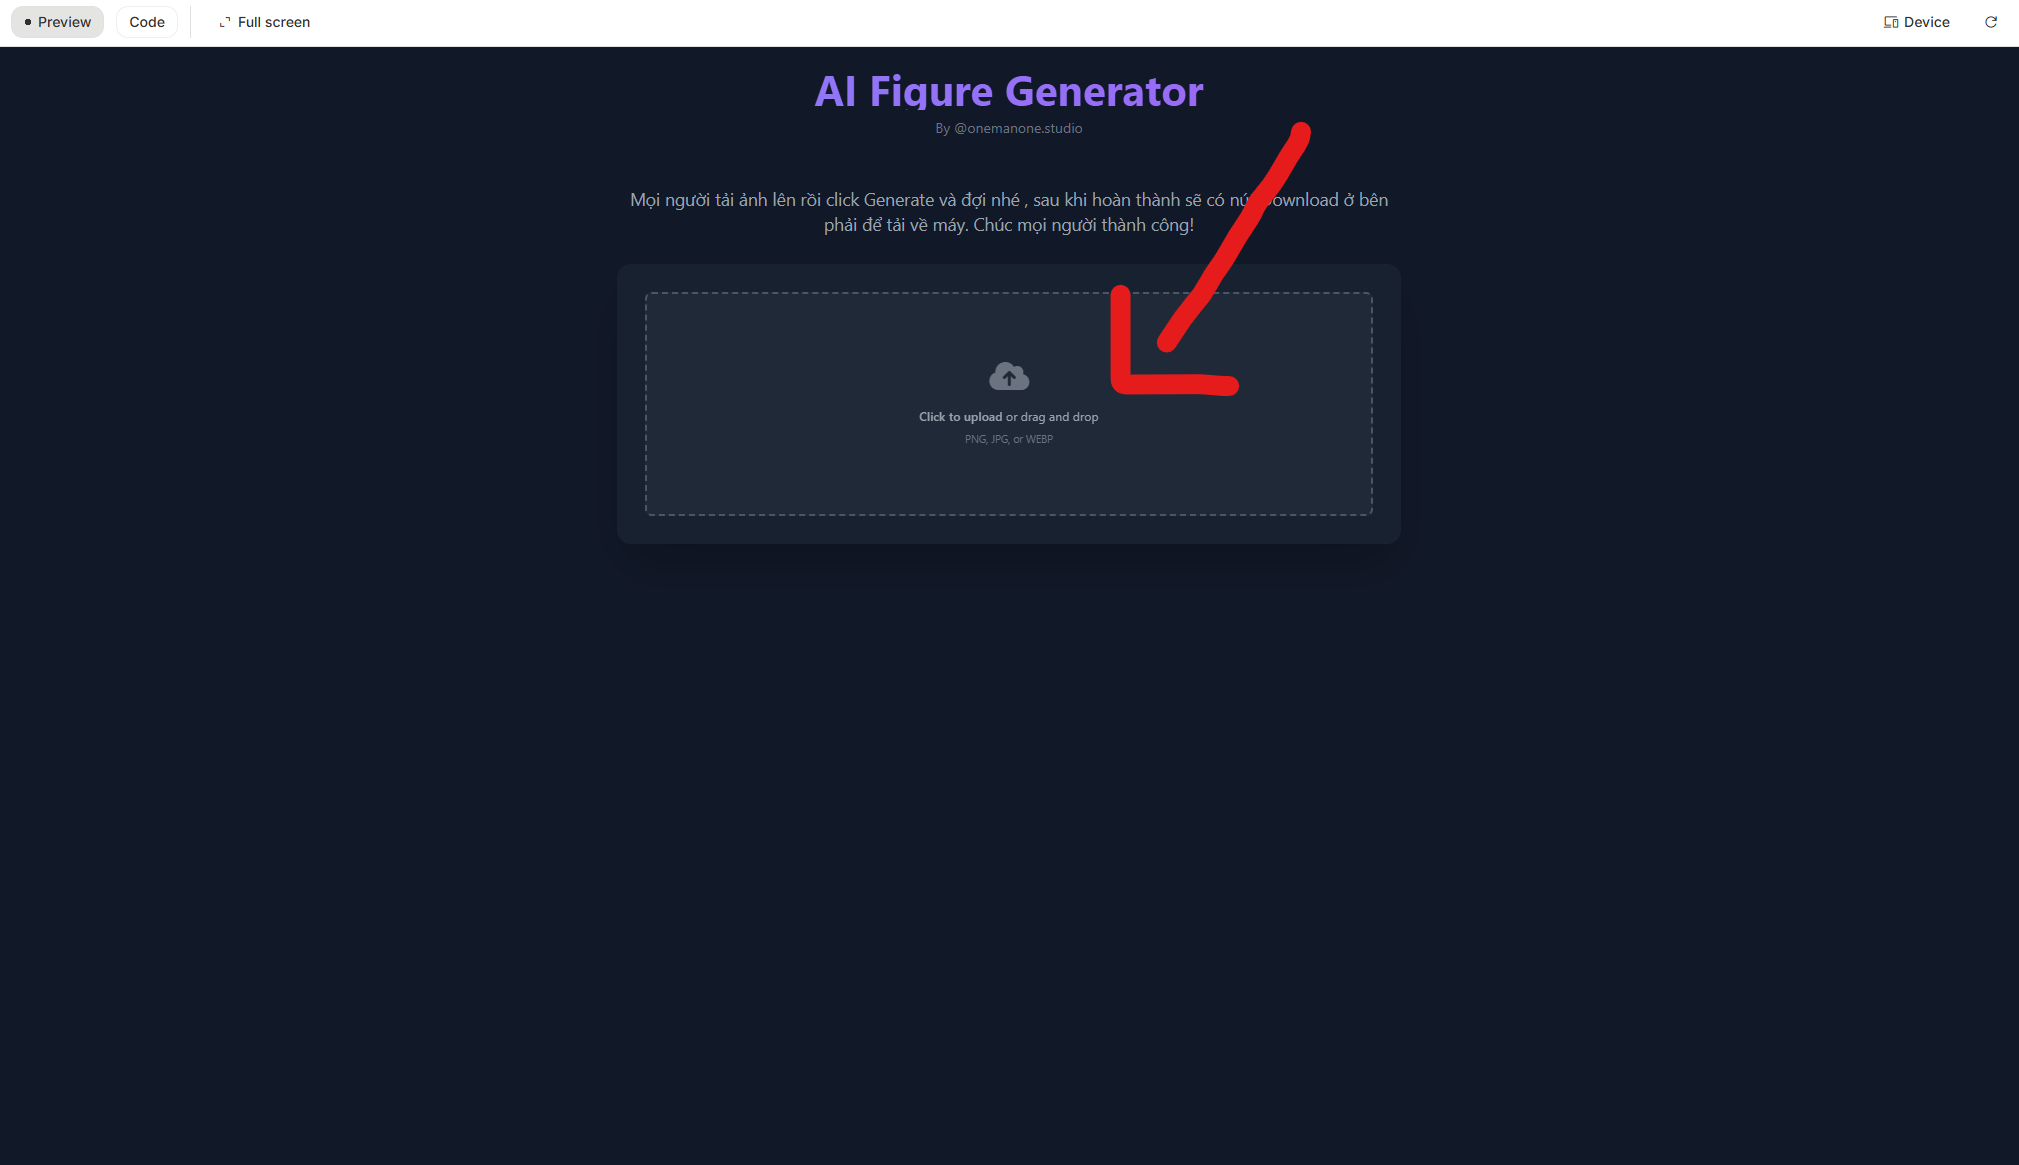
Upload the image to be made 3D
Step 3: Generating and Admiring Your 3D Figure
With your image uploaded and the prompt in place, click the “Generate Figure” or similarly labeled button to begin the process. The AI will now analyze your photo and the text instructions to render the final image. This process is remarkably fast, often taking less than a minute, sometimes just a few seconds.
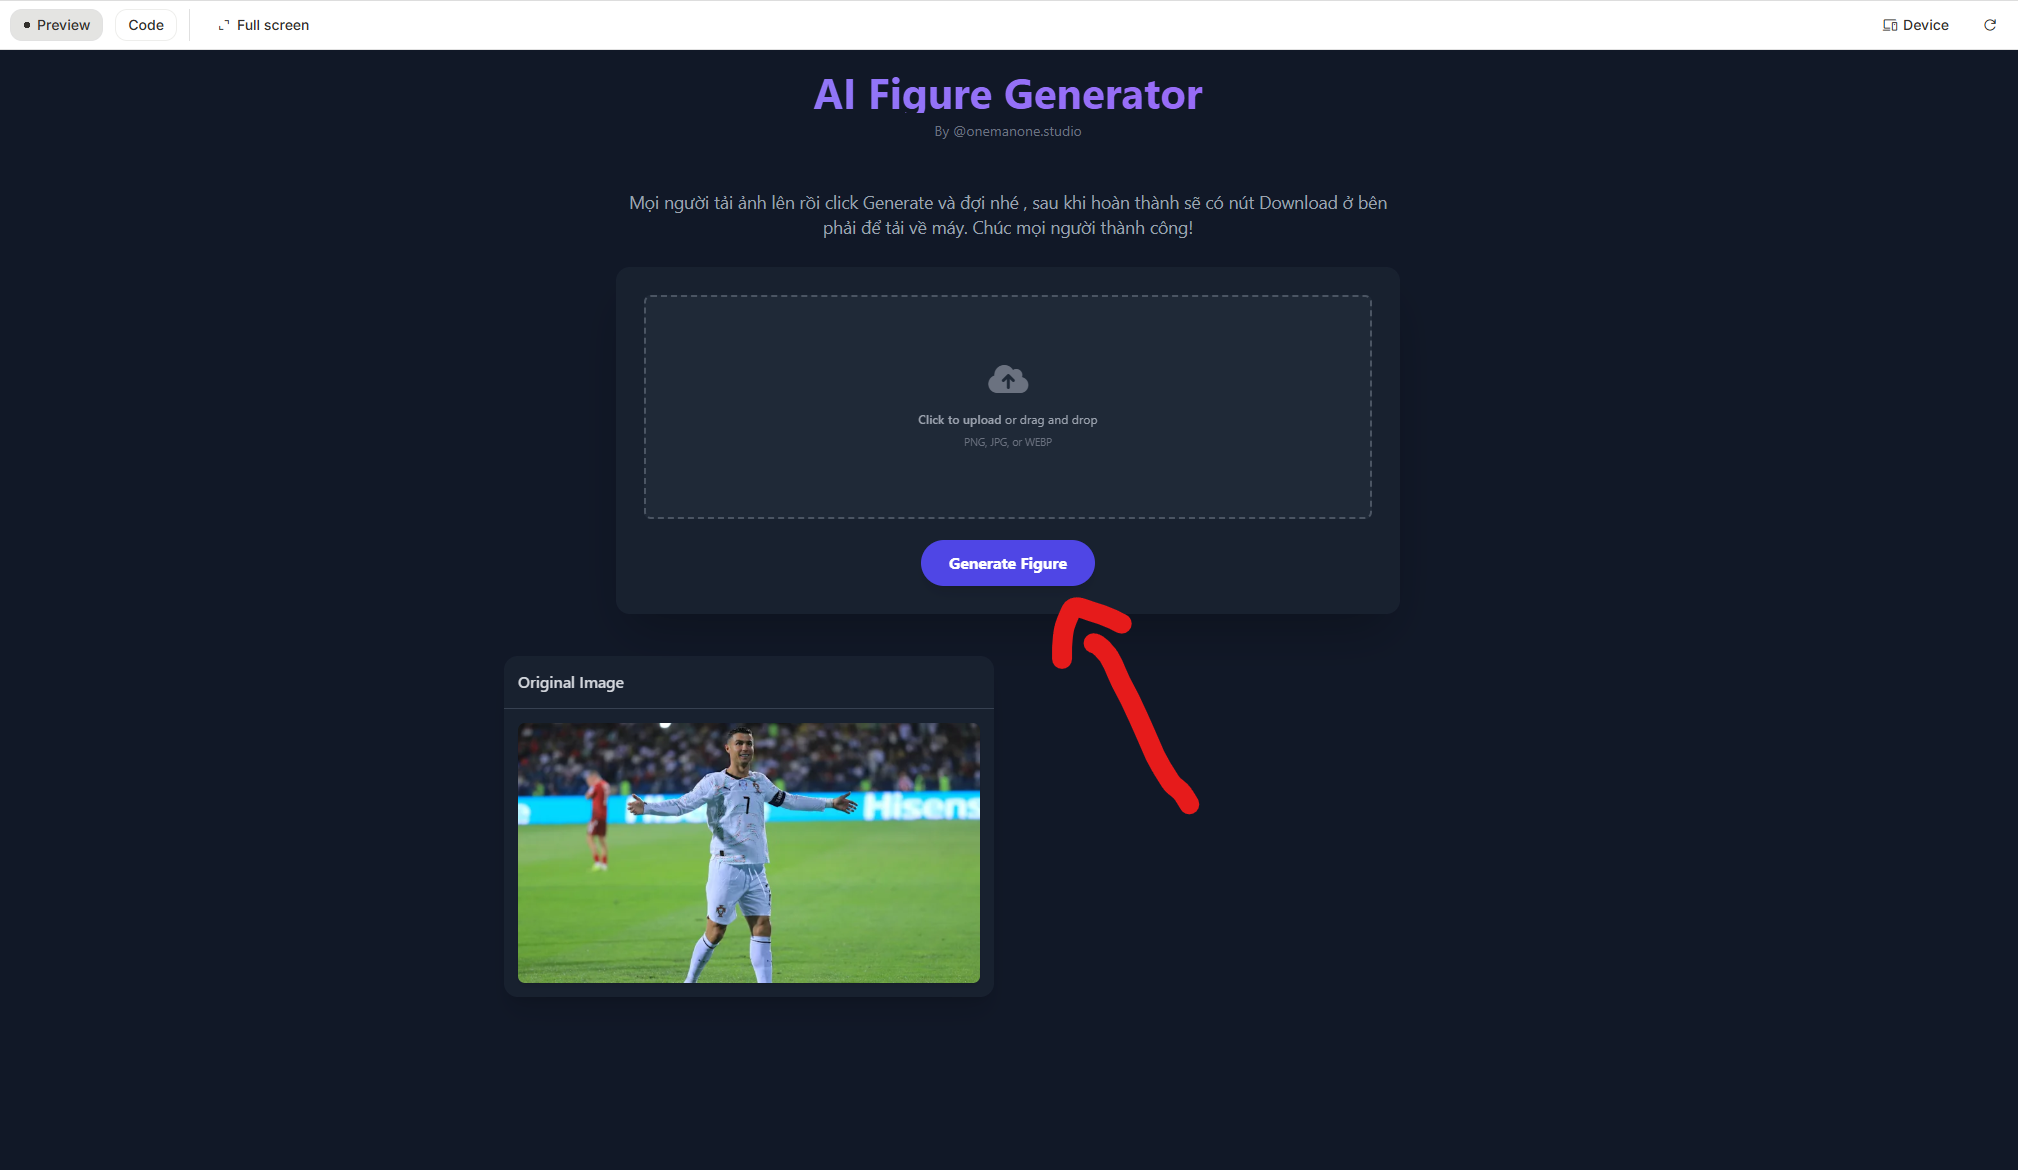
Click Generate Figure to complete the operation
Once complete, your stunning 3D figure will appear on the screen. You can then right-click to save the image to your device. Now you’re ready to share your creation on social media and join the viral trend!
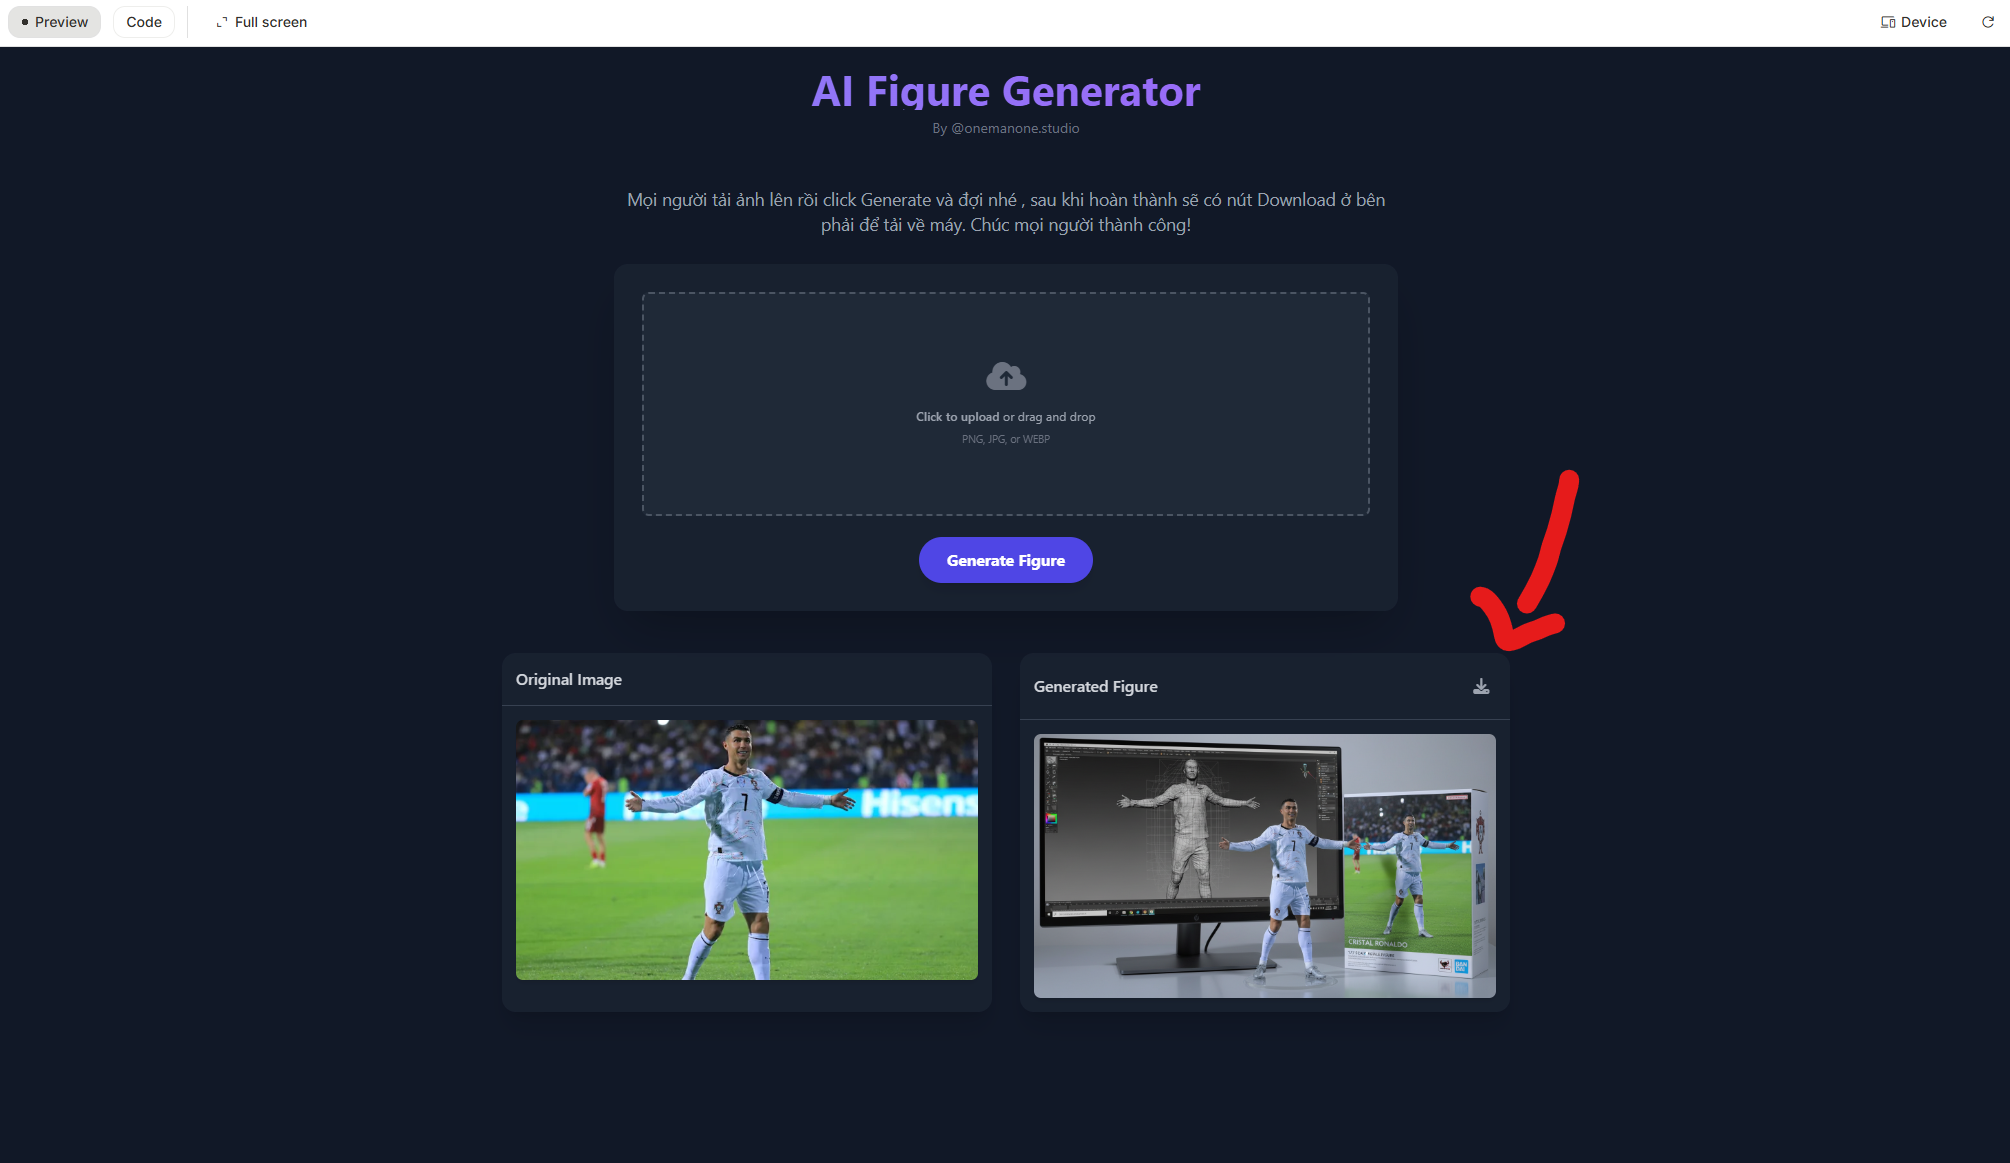
You can download 3D images
Crafting 3D Figures in Gemini and Chat
One of the most powerful aspects of this AI trend is that the core skill, crafting a “Nano Banana” prompt, is not locked into a single platform. The underlying model is accessible through other popular AI interfaces like Google’s Gemini and OpenAI’s Chat. This means you can use the platform you are most comfortable with and still achieve similar, high-quality results. The knowledge you gain here is portable and durable, representing a true skill in the emerging field of AI-driven creation.
How to Create 3D Images with Gemini
Google’s Gemini is another excellent tool for this task, with a workflow that is very similar to AI Studio’s.
Step 1: Access Gemini and Upload
Navigate to the Gemini website or open the mobile app and log in to your Google account. In the chat interface, look for an option to upload an image, often represented by a paperclip or a plus + icon. Select this, choose “Upload file,” and select the portrait you wish to use.
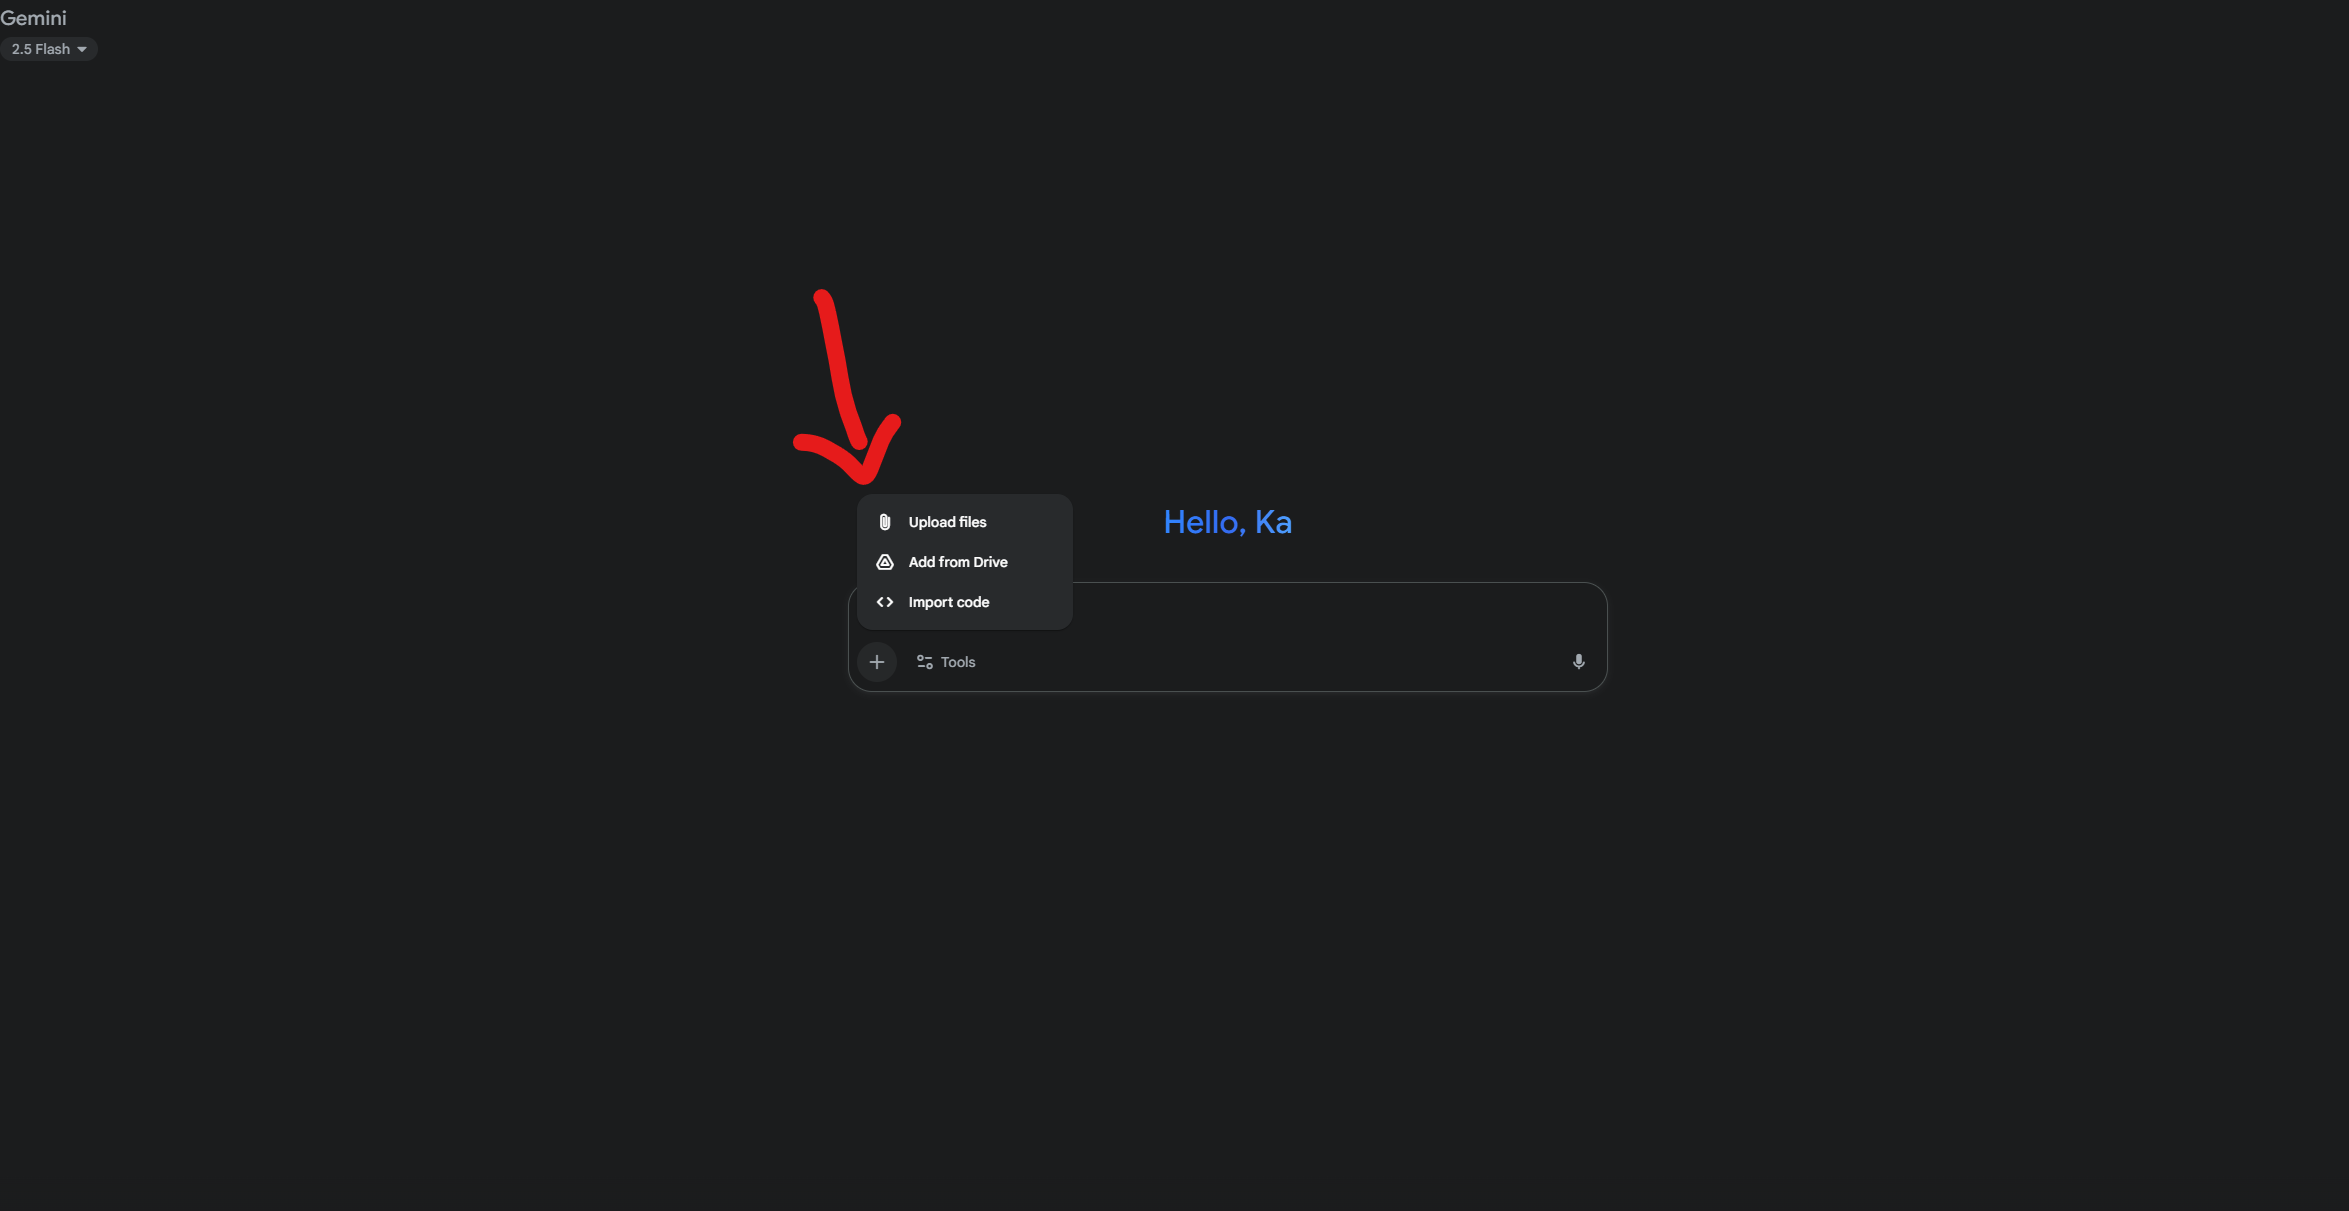
Access Gemini and Upload
Step 2: Input the Prompt
After the image has been uploaded, the chat box will be ready for your text input. This is the most critical step where you instruct the AI exactly what you want it to create. After uploading your image, you will see a text input box. This is where you will paste your prompt. While the original source material for this specific tool omits this step, it is an essential part of the process, as demonstrated in the workflows for other platforms that use the same underlying model. Without the prompt, the AI won’t know to create the specific figure style.
Copy and paste the entire text below into the input box.
Use the nano-banana model to create a 1/7 scale commercialized figure of the character in the illustration, in a realistic style and environment. Place the figure on a computer desk, using a circular transparent acrylic base without any text. On the computer screen, display the ZBrush modeling process of the figure. Next to the computer screen, place a-style toy packaging box printed with the original artwork.
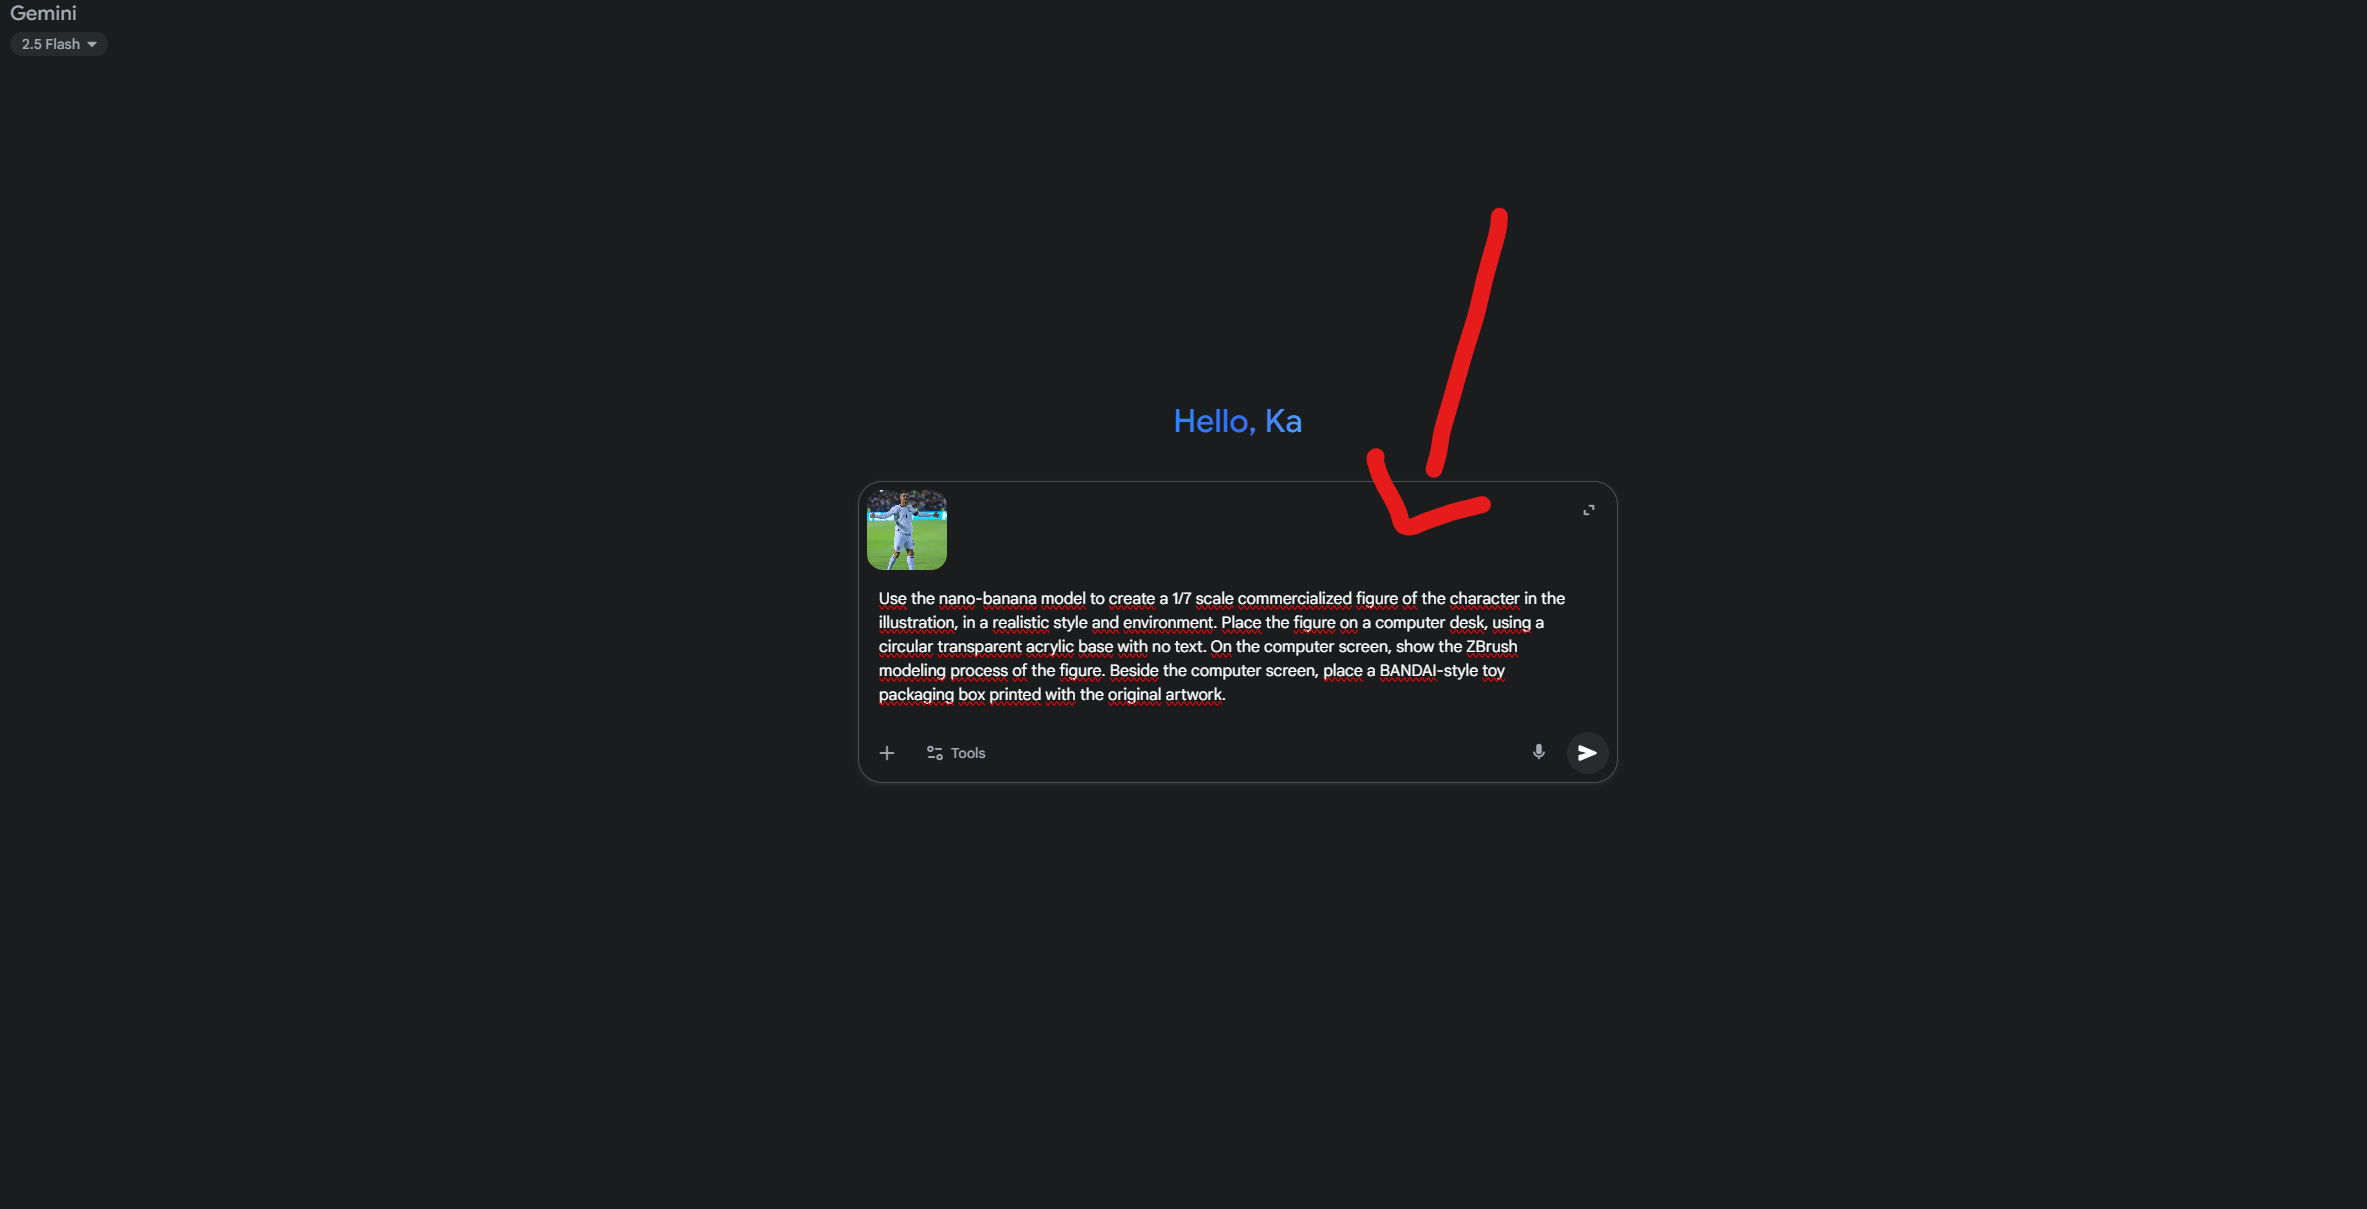
Input the Prompt
Step 3: Generate and Download
Once your prompt is ready, click the send button (usually an arrow icon) to submit your request. Gemini will process the image and prompt, generating one or more versions of your 3D figure in a minute or two. You can then review the results and click the download icon on your preferred image to save it to your device.
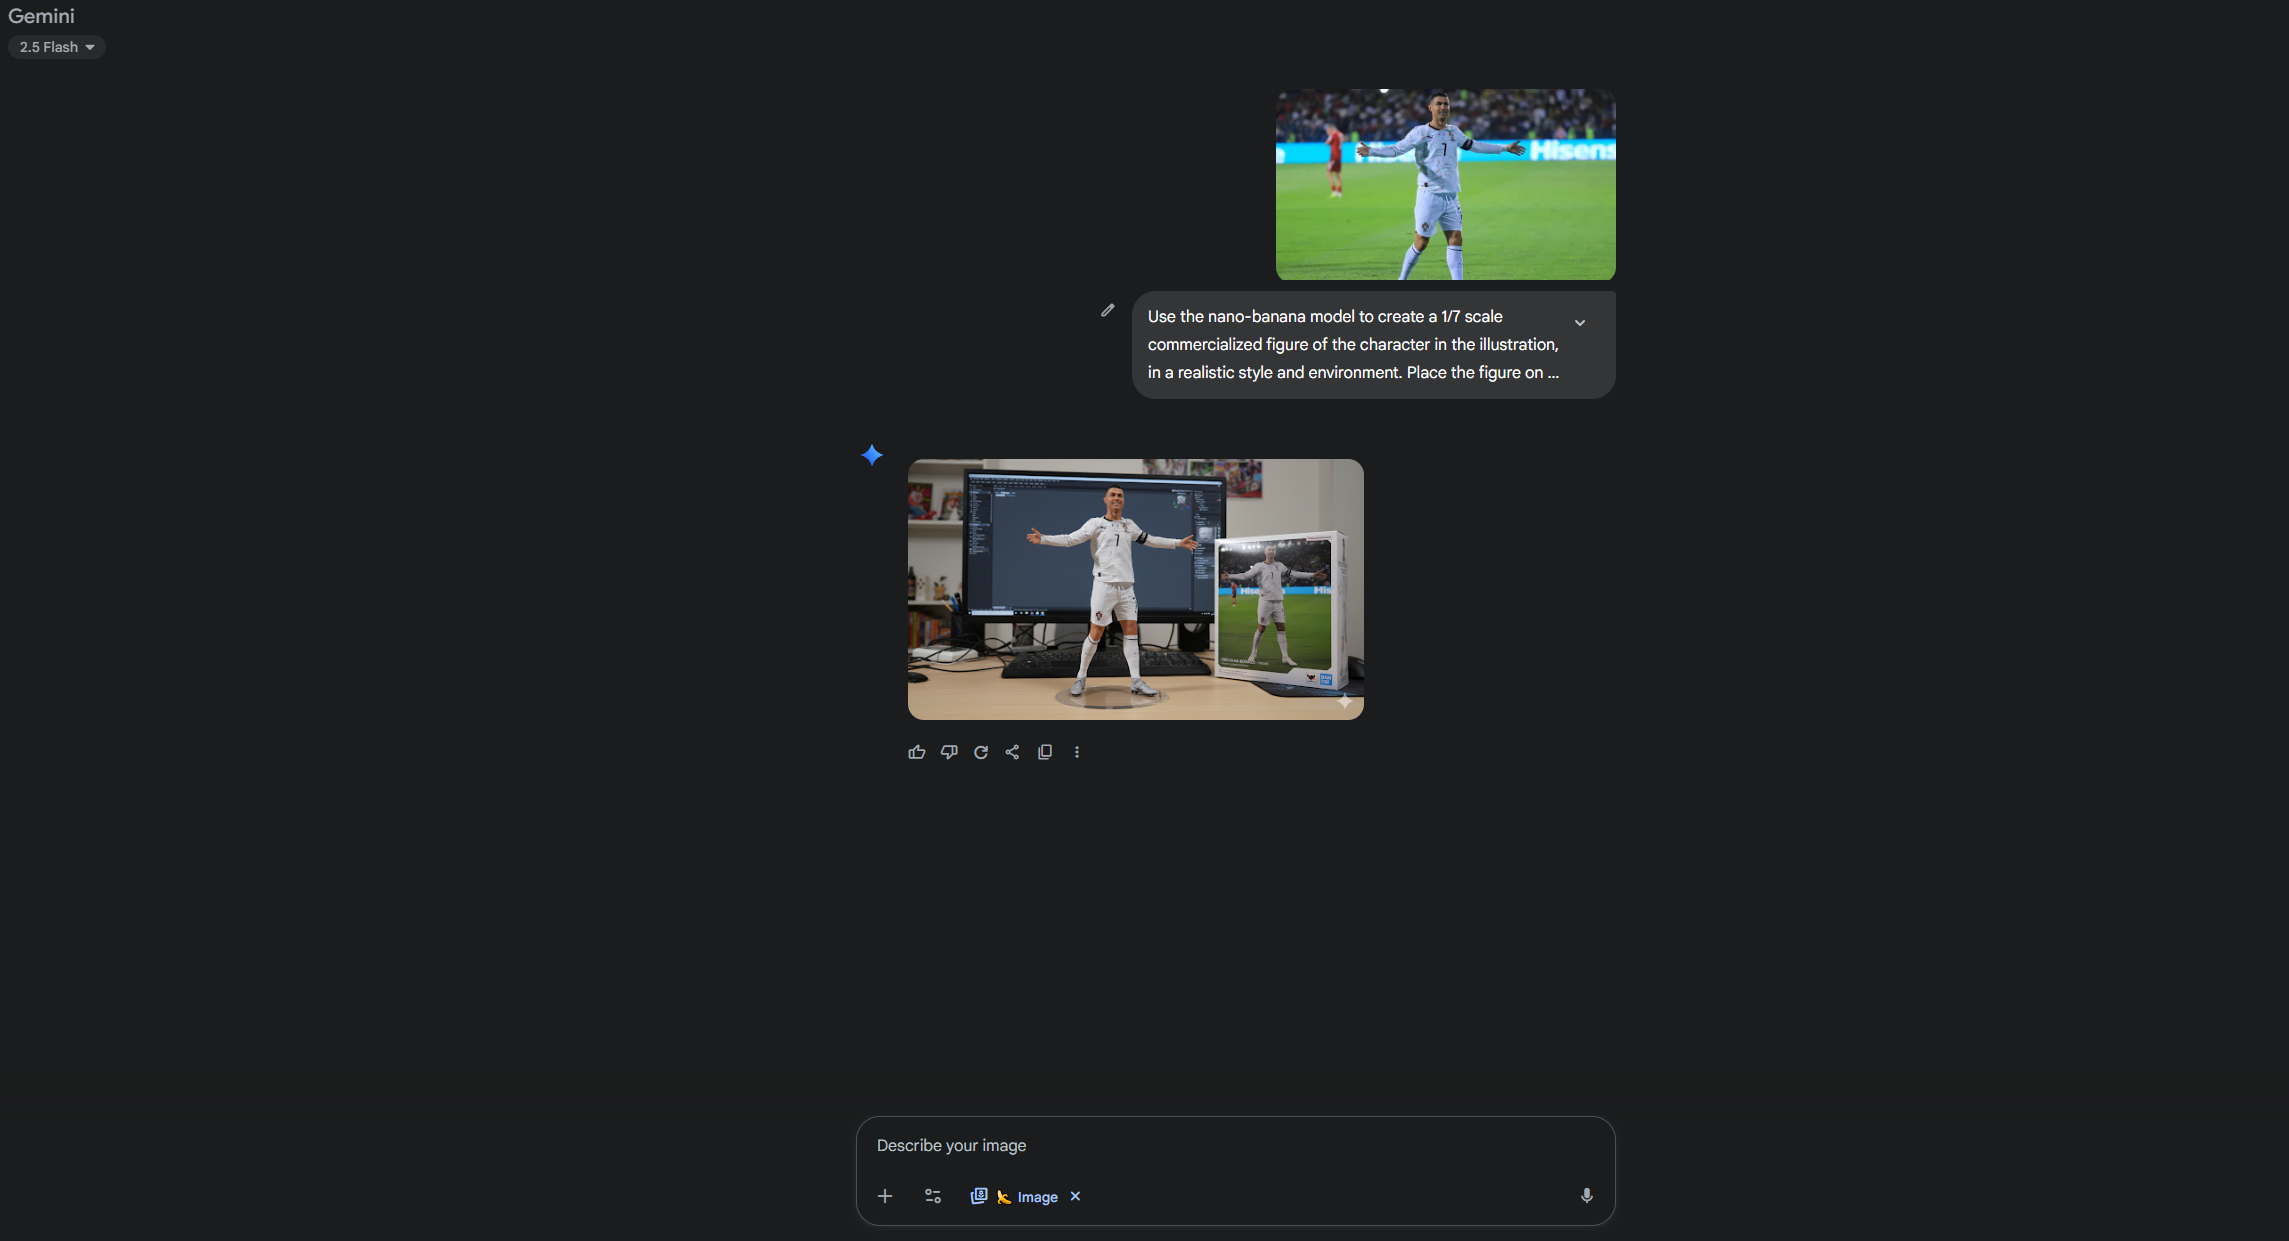
Generate and Download
How to Create 3D Figures with Chat
For users of Chat, particularly those with a Plus subscription that enables image generation, creating these figures is just as straightforward.
Step 1: Access Chat’s Image Creator
Log in to your Chat account. In the chat interface, you may need to ensure you are using a GPT-4 model capable of image generation. Start a new chat and look for the attachment icon (often a paperclip or plus + sign) to begin.
Step 2: Upload Your Image
Click the attachment icon and select the option to upload an image or file from your computer. Choose the portrait you want to transform.
Step 3: Input Prompt and Finalize
With your image attached to the prompt, paste the detailed Nano Banana prompt into the message box. As with the other platforms, you can customize it as needed. Press the send button to have Chat begin the creation process. Once the image is generated, you can click on it to view it in full size and download it to your computer.
A Prompt Library for Stunning Scenes
The basic prompt is just the beginning. The true power of the Nano Banana model is unlocked through creative and detailed instructions. The following library provides several advanced prompts that you can use as-is or modify to create unique scenes. Each prompt is broken down to help you understand how different phrases influence the final output.
| Scene Description | Key Custom Elements | Full Prompt for Customization |
| The Classic PC Workstation | ZBrush on screen, generic packaging box. | Use the nano-banana model to create a 1/7 scale commercialized figure of the character in the illustration, in a realistic style and environment. Place the figure on a computer desk, using a circular transparent acrylic base without any text. On the computer screen, display the ZBrush modeling process of the figure. Next to the computer screen, place a-style toy packaging box printed with the original artwork.
|
| The Sleek MacBook Setup | MacBook on desk, cinematic lighting. | Use the nano-banana model to create a 1/7 scale commercialized figure of the character in the illustration, in a realistic style and environment. Place the figure on a computer desk, using a circular transparent acrylic base without any text. On the desk, show a MacBook with its screen displaying the ZBrush modeling process of the same figure. Next to the MacBook, place a-style toy packaging box printed with the original artwork. Cinematic lighting, high-detail textures, realistic materials, shallow depth of field, professional photography look.
|
| The Patriotic Celebration | Public square background, red shirts with yellow stars, festive atmosphere. | Use the nano-banana model to create a 1/7 scale commercialized figure of the character in the illustration, in a realistic style and environment. Place the figure on a computer desk, using a circular transparent acrylic base without any text. On the desk, show a MacBook with its screen displaying the ZBrush modeling process of the same figure. Next to the MacBook, place a-style toy packaging box printed with the original artwork. In the background, through the window or behind the desk, show a large public square filled with thousands of people wearing red T-shirts with yellow stars, celebrating joyfully. Add vibrant lighting, flags waving, and a festive atmosphere. Make sure the square feels energetic and patriotic, while the figure scene remains professionally staged and cinematic. Use high-detail textures, realistic lighting, shallow depth of field, and editorial photography quality.
|
| The Ultimate Gamer’s Room | PlayStation 5, stacks of money and gold bars, RGB lighting. | Use the nano-banana model to create a 1/7 scale commercialized figure of the character in the illustration, in a realistic style and environment. Place the figure on a computer desk, using a circular transparent acrylic base without any text. On the desk, display a high-resolution gaming monitor showing the ZBrush modeling process of the same figure. Next to the screen, include a PlayStation 5 console with its controller placed nearby. Scatter multiple stacks of US dollar bills and shiny 9999 gold bars across the desk surface. Also place a-style toy packaging box printed with the original artwork beside the figure. Set the entire scene inside a stylish gaming room, with RGB lighting, gaming chair, LED strips, and high-tech accessories. The atmosphere should feel luxurious, modern, and dynamic - with cinematic lighting, shallow depth of field, high-detail textures, and photorealistic materials.
|
Notice how the more advanced prompts include specific photographic and stylistic commands. Phrases like cinematic lighting, shallow depth of field, and photorealistic materials are not just descriptive words; they are technical instructions that guide the AI’s rendering engine to produce a more professional and believable image. Experiment by adding, removing, or changing these elements to see how they affect the final result.
Pro Tips for a Flawless 3D Figure
To ensure you get the best possible results every time, keep these three key principles in mind. They are the foundation for creating a perfect 3D figure with AI.
Start with a High-Quality Source Image
This cannot be overstated: the single most important factor for a great result is a high-quality input image. A clear, high-resolution photo with good lighting provides the AI with the necessary data to capture fine details, resulting in a model that is smooth, detailed, and accurate. A blurry or low-resolution input will inevitably lead to a generic and less impressive output.
Choose Simple Outfits and Clear Colors
While the AI is powerful, it can sometimes get confused by complex patterns, intricate logos, or busy clothing. To help the AI better understand the form and shape of your character, opt for photos where the subject is wearing relatively simple, solid-colored outfits. This allows the model to focus on the person’s form and features, leading to a cleaner, more aesthetically pleasing figure with better-defined contours.
Master the Art of the Detailed Prompt
Your prompt is the blueprint for your creation. The more detailed and precise your instructions, the closer the AI’s output will be to your vision. Think of yourself as a director giving instructions to a team of virtual artists and photographers. Be specific about the environment, the lighting, the objects in the scene, and the overall mood. Consider the prompt your map and compass; the more detail you provide, the more accurately the AI can navigate to your desired destination.
Conclusion
The viral trend of creating 3D figures is more than just a fleeting social media phenomenon; it’s a powerful demonstration of how accessible and sophisticated AI-driven creative tools have become. Powered by Google’s Nano Banana model, this technology allows anyone to step into the role of a 3D artist and product designer. By understanding the core principles, using a quality source image and crafting a detailed, command-like prompt, you can consistently produce stunning, professional-grade images.
Now it’s your turn to create. Use the guides and the prompt library in this article to start your journey. Experiment with different photos, scenes, and stylistic commands. We encourage you to share your amazing creations in the comments below or on social media, be sure to tag GPTOnline.ai to join our growing community of AI creators!